How to add a watercolour background to your paintings
Choosing the right background for your watercolour painting can make or break the whole painting.
Don’t be alarmed though - even though the background is important, it doesn’t have to be complicated!
There are lots of options available to you and once you know what there is to choose from I am sure you will find the whole process of adding a watercolour background to your painting far less vexing than it might once have appeared.
How important is the background in a watercolour painting?
Very. The background should not be an afterthought. It is an important part of the whole composition - possibly even a big part. It can give your subject context, add emphasis or focus, offer colour and contrast, and help your painting tell its story.
Should I paint the watercolour background first or last?
Really, it depends on what type of background you are going for. Ideally though, you do need to figure this out before you even begin painting.
Sure, you can always change your mind, but things are so very much easier if you have some sort of a plan before you begin. Once you have an idea what the background will be it is much easier to figure out when to paint it. We will get into that in detail in a minute.
Let’s consider the possible watercolour backgrounds you could choose.
Watercolour Background Options
1.No Watercolour Background - Clean and Simple
Okay, I know I said a background was important. This is the case, even if it is completely absent.
A clean white background is a simple, elegant option that is widely used in botanical illustrations.
A subject on a clean white background is simple and elegant. I think of it as more of an illustrative look. It is widely used in botanical illustrations. The focus is on the subject.
A clean backdrop puts the focus on the subject and offers it no competition. This sort of thing definitely has its place.
2. Create a Simple Watercolour Background with some Easy Integration Techniques
The pristine background is a formal look. Sometimes the subject (or the painter) might call for something a little more relaxed.
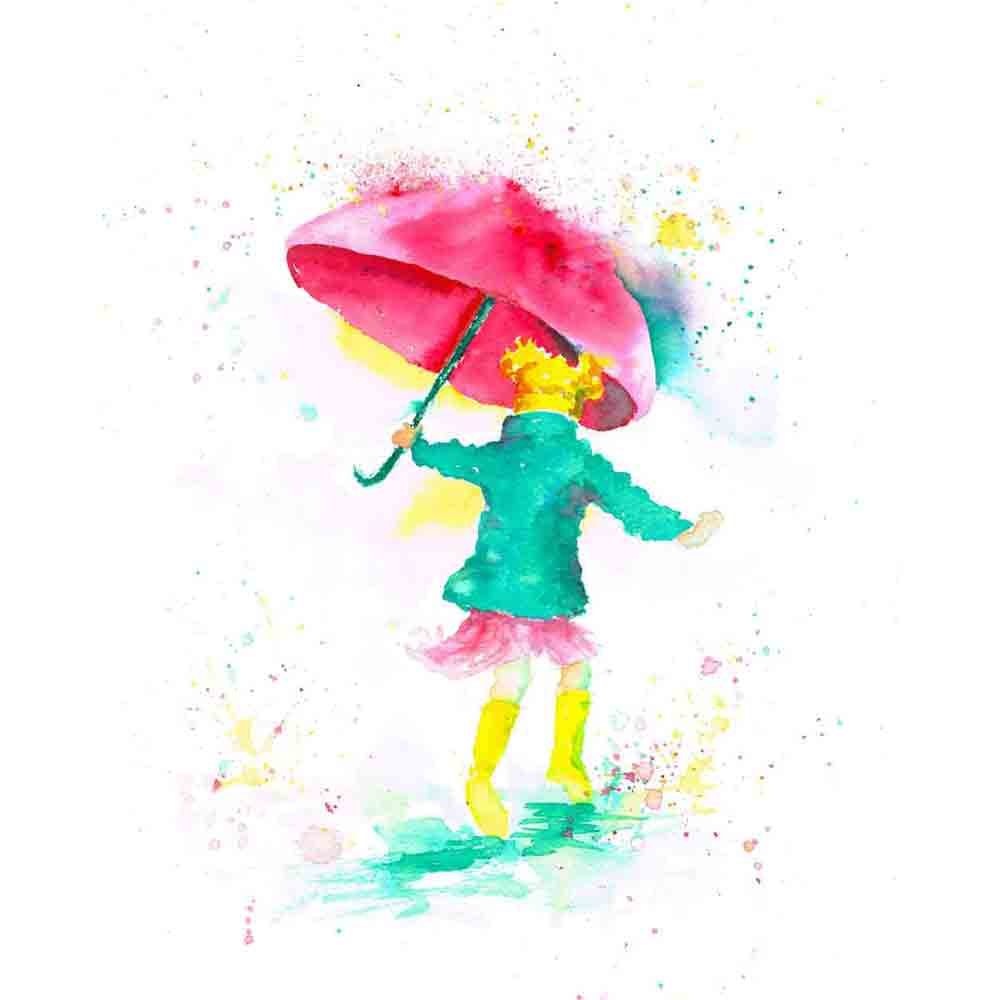
Splatter, anyone? Yes, it is fun to do.
Paint this painting step by step with me…PLUS.. 3 more all with different background approaches in the ever popular WATERCOLOUR TUTORIAL STARTER BUNDLE
A little loose splash of one or more colours used in the subject loosens up the tight illustrative style and adds a touch of whimsy. Of course this would be completely out of place for something like a serious botanical illustration.
Another option is a little drop shadow. This has the advantage of grounding the subject, so that it no longer looks as if it is floating.
A little drop shadow places this leaf on the ground. and is enough of a background for a simple painting like this.
Taking this idea a little further it might be helpful to offer a little suggestion of the ground for your subject. The odd hint of grass is enough to help the viewer to mentally place this bunny in the fresh air.
A hint of grass is enough to place this bunny in the fresh air
The whole field is not necessary - he is the main subject. All he needs is a hint of his place in time and space so that he becomes alive rather than some sort of a specimen.
A few background elements are enough to tell this bunny’s story…
A mere suggestion of grass and flowers and the painting tells the story of this little fellow scampering about the dewy lawn, munching daisies in the morning sun.
3. How to use Selective Negative Painting to Create a Watercolour Background
When you paint a subject in watercolour on a clean white background, a problem potentially arises when your subject is very light in colour. Further, if you have a strong light source in your painting (usually a good idea) then the highlight edge of your subject may become indistinguishable from the background.
The only way to emphasise that highlight is to place a dark right next to it - in the negative space.
Negative painting means that you paint not the subject, but the space around it.
It is not necessary to paint around the whole perimeter of the subject. I like to use this technique selectively just to bring out an important edge here or there.
Notice the highlight on the right hand edge of the umbrella… without the dark green beside it that edge would disappear into the background.
One of my favourite ways to do this is to drop the dark colour in the background against the lightest edge of the subject and then soften off the edge with water so that the watercolour blends out, gradually and naturally.
4.Create a Simple Vignette Style Watercolour Background
You could, as we already established use the negative painting technique all the way around do this the entire way around the subject.
When you do add a colour the whole way around you get a vignette effect. You can choose to use one colour all the way around or multiple colours. Watercolour blends so beautifully all by itself if you let it. Click here if you find this hard and would like some help with that.
It is the sort of thing you might see around a portrait for example.
A colour is placed against the subject to show its edges and offer a contrasting colour perhaps but it is not necessary to take it all the way to the edges of the page.
Unless you want to, of course.
5 Create Watercolour Background by Starting with a Full Wash Over the Entire Page
If you know that your subject is better off on a colour background, you could, of course begin with a wash over the entire page, let it dry and then paint the subject on top.
Layering watercolour is a trusted technique that makes the most of the transparent qualities of the paint. However this does mean that you will need to have the subject darker than the background.
Want to learn how to make the most of watercolour even as a beginner?
This might be just what you are looking for…
Since the background colour of the wash will show through the top layer it will give the whole piece an integrated look - a particular mood.
Since these hot air balloons are in silhouette it is appropriate that they are darker than the background. In tis case it makes sense to paint the sky as a background wash over the entire painting and let it dry before painting the balloons over the top.
6 Create a Full Watercolour Background With Masking (or more Negative Painting)
You could draw out your subject and paint everything but the subject ie negatively paint the entire background. There might even be a temptation to use masking fluid, but my advice is to save that for very small areas and rather just paint around the subject.
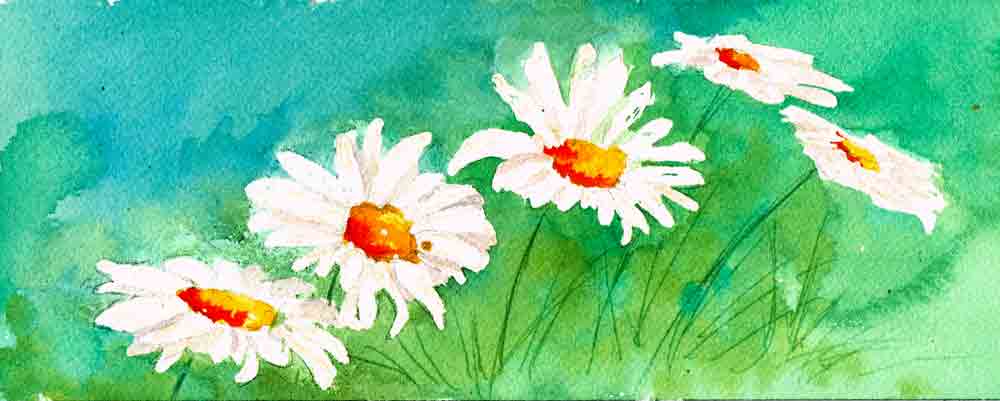
Painting everything but the daisies (ie the background) creates the daisies - this is what we call negative painting.
Once dry you could add the subject in the blank space. I am not wild about this idea at all. (But it can be effective for something like a field of white daisies, for example)
It can be really tricky to get the edges of the subject to line up with edges of the background. Another problem that can arise with both of these methods is that the subject often looks a little pasted on. A way to integrate the subject is to soften off some of the edges with a damp brush, for example fur or hair does not have a hard edge, so if you have those sort of edges in your painting you might want to look into using the softening off technique.
Hard and soft edges are rather important too - but we’ll save that for another time - let’s stick with the backgrounds for now.
7 How to paint a blurry background in watercolour
As we were saying earlier, a clean background puts the focus on the subject. There is a way to add a background which does not compete too much with the subject.
Using the same trick photographers use, you can keep the subject clean and clear and sharp and make the background soft and blurry. This is one of my favourites. And it is quite easy to achieve.
If you wet the background with clean water, you can paint the sort of shapes that you see in the background and they will automatically blur for you because of the damp paper.
Watercolour Magic….
Keeping the colours fairly light will add to this effect.
8. What about the ‘background’ when you are painting a whole scene?
If you paint a whole scene or perhaps something like a landscape, the background is pretty much the painting. In this case the question of how to paint the background arises much less.
When you paint a whole scene you tend not to think about the ‘background’ as a separate issue, however the same concerns apply, like integrating subject with background, choosing a focal point, etc.
By the way, notice how necessary the background sea and sky is to show off the highlight on the right hand side of the watercolour figures.
Or does it…?
I think that all the things that you learn from painting simple subjects on their own still apply in the complete scene painting. For example…
Every painting needs a focus.
What will you keep sharp? What will you let be soft?
How will you show the highlight on the main subject?
All the same fundamental questions apply.
Painters are excellent problem solvers.
So all you need is the right questions - the answers will flow from there. Gather a collection of tips and techniques in your arsenal and then trust your instincts on which ones to apply to your current project.
Happy painting.











Being able to add perspective to your drawings instantly adds a touch of realism and invites the viewer into your picture. But when you are starting out, learning about perspective can seem terribly daunting.
Here are 7 things you need to know about drawing in perspective that might help.