Try Twinkling H2Os for some festive bling in your artwork
I have had a small set of Twinkling H2Os watercolour paints in my stash for a while. If you have never come across them before you might want to check them out. They are cute little tiny pots of paint that 'twinkle'. They really do - a sort of metallic finish if you like.
Initially, I resisted buying them since you can add iridescent medium (which I obviously already have in my stash of course - this one) to any watercolour paints and you have 'twinkling' paint. I tried to tell myself that it was therefore unnecessary to have a separate set of sparkly paints.
I know. Madness. Conventional sensibility does not apply to art supplies. They are all necessary. Of course I need a separate set of twinkling paint.
There is one little trick you need to know to avoid disappointment with Twinkling H2Os. You need to open up all the little pots that you might use and give them a jolly good spritz of water and then let them sit for a minute or two before you begin. If you don't you will have a hard time getting enough paint on your brush and you will be misled into thinking the paint is weak and the colours insipid. They really aren't. They are glorious. But you do need enough water and time for the paint to absorb it in order to enjoy them.
Of course, iridescent medium works too, and you can control the amount of bling you are after by altering the quantity of medium that you add to the paint. The downside of the medium is that it can be a little smelly and you have the extra step of mixing it into the paint as you go.
For a bit of fun festive bling you can't go wrong with the instant gratification of the Twinkling H2Os. I'm loving them. I wish I had a few more colours. I hope Santa knows how good I have been...
Water soluble oil pastels that smell of childhood
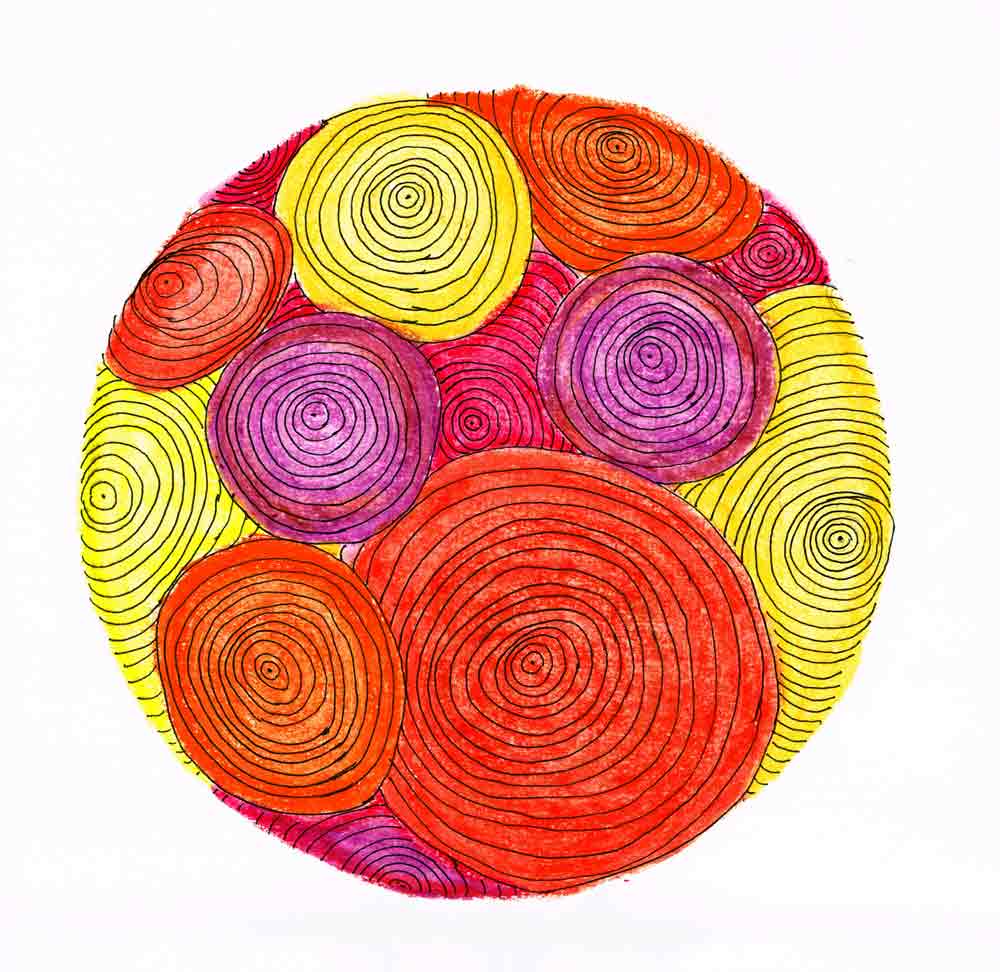
I seem to gravitate towards the cooler colours so this time I opted for a change. I used my Portfolio water soluble oil pastels by Crayola to add the colour here. There is something delightfully reminiscent of childhood about using a chubby stick of waxy crayon. The fact that it then turns to smooth paint with the addition of a bit of water and a paintbrush is just one of the wonders of modern art supplies. Aren't we lucky to have them.
If you fancy trying them they are not too expensive, good for kids of all ages. The colours are quite glorious and you can use them with or without the addition of water. Bear in mind though, if you are of the mixed media persuasion that if you try and add some pen lines on top of them you might run in to a spot of trouble. They are oil based crayons so it is best to do any pen work first otherwise you may not be able to make marks over the top of the pastels.
So much fun. They even smell of childhood.
Should a beginner buy expensive paint?
I have to say I am loving my Schminke watercolour paints. I spent a long time pondering whether it really did make a difference using the 'artist quality' version of the paints as opposed to the 'student quality'. It is always a rather tough call when you are starting out.
When you know you are just learning it is hard to justify expensive paint. It is something of a widely held notion that you first 100 paintings are going to be rubbish - it is just something you have to work through. (Actually some say 500.... lets be gentle and start with 100). If you are interested in this idea, you might want to check out Lynn Whipple's rather charming short video on the matter.
Expecting a few dodgy paintings inevitably leads to some reluctance about splashing out on professional paint. However, doesn't a beginner need all the odds stacked in their favour? Such as paint that behaves the way it is supposed to? Glorious, vibrant colours?
 So should a beginner buy expensive paint? There is is no easy answer to the dilemma. I think that the deciding factor within the available budget is whether the 'good' paint will inspire or inhibit you. If you will be happy to splash it about in your early experiments then I say go for it. But if it is going to make you even more critical of your early efforts and cause you to agonise over every brush stroke then it rather defeats the purpose. Sometimes it is easier to give yourself permission to be a beginner if you are not worrying about wasting supplies. (And by the way, if it is fun, it is not a waste, regardless of your opinion of the final output.)
The main thing is to get on with those paintings. Whether you use cheaper paint or professional quality paint doesn't really matter. It only matters that you give yourself the chance to paint yourself happy.
The best watercolour brush for beginners
Watercolour is fast becoming my favourite medium. I can't say it is easy - acrylic paint is far more forgiving I think. If you are just getting started with watercolour it is easy to get discouraged. If that resonates with you, I have two suggestions that might be helpful. They relate to one of the most important watercolour supplies for beginners. A great brush. The best watercolour brush for beginners can make all the difference when it comes to enjoyable painting.
Luckily, a good brush doesn't mean an expensive brush necessarily. When I started out I had a set of paints which came with a brush. I always wondered when to spend more money on a brush or if it was even necessary. It felt like a cop out - you know, a bad workman blames his tools. But there is always that little shred of hope - perhaps my painting would be so much better if I had a better brush....?
I now have a brush which has become the only brush I want to paint with. It is a Princeton Neptune Round No 12. Yes, that is quite a big brush. The thing about a good brush though, is that it holds its point well. That means that if you just use the very tip of the brush, and hold it vertical to the paper you can achieve a lovely fine line - even with a number 12. So my first suggestion is to find yourself one of these brushes. They are not too expensive and a total joy to paint with.
The second thing you can do to help yourself is to learn how to use this brush.
I think one of the easiest ways to do this is to watch someone else using it. One of my favourite You Tube teachers is Angela Fehr. She is also a fan of this very same brush, and recently put out a video which demonstrates some easy some leaf painting. Angela makes watercolour painting seem much more approachable. Check out her video here.
Explore more of the Tea Time post series here
See the kitchen inspired artwork available in the shop today
12 things you want to know about acrylic paint
If you are getting started with painting there are 12 things you want to know about acrylic paint:
It washes up with water - no smelly, toxic solvents required as may be the case with something like oil
It is very forgiving - you can paint over anything you want to change or adjust very quickly. Acrylic paint has excellent opaque coverage so even if you have a deep purple area you can paint over it with a pale colour or even white and it will be completely covered - this is not the case with watercolour!
Your finished painting is completely dry straight away - unlike oil paintings where some museum curators will not consider the painting totally dry until it is 50 years old
You can paint on almost anything - acrylic paint is made of pigment suspended in water and mixed with an acrylic binder. Yes, that is basically plastic! Paint on paper, canvas or wood like my little whale
Acrylic paint comes in marker form - hurrah! There are several brands available now such as Posca, Molotow and Montana. Some of these markers are even refillable. They come in different nib sizes and shapes, even brush tips. I used acrylic markers for the whale and the doodles in the picture in this post as well as all my paintings in the animal panel series.
You can make it translucent for glazing - You can mix it with a matte or gel medium which is really just pigment free paint. This will make it more translucent and enable you to make glazes over the top of your existing work
You can add texture and/or increase the drying time. While fast drying time is often described as an advantage, you may want to work wet in wet and blend the paint like an oil painter. You can still do this with acrylic paint by adding the right medium to it. Many different acrylic mediums are available eg, texture paste, flow medium
Acrylic paint plays so nicely with other art supplies. If you choose a particularly matte acrylic paint you can use your coloured pencils over the top. Try it out with watercolours too.
It is still relatively 'new' as art media goes. This means we don't really know how it is going to stand the test of time
It was first created in the lab in 1901 by Dr Otto Rohm
in the 1950s acrylic paint was commercially produced as interior house paint
Early adopters of acrylic paint in the art world include Moris Louis, Kenneth Noland, Mark Rothko, Robert Motherwell, Barnett Newman, Roy Lichtenstien, Andy Warhol and Bridget Riley.
Painting on wood
I have been loving painting on wood. It felt like a very modern thing to do. How wrong I was about that!
A very brief history lesson
Apparently, wood was the substrate used by most artists until the 16th century. It was a very prestigious medium in Greece and Rome. The oldest surviving Greek paintings are a series of 6th century BC painted tablets from Pitsa.
The old masters painted on many different types of wood, depending on what was locally available. For example, Albrecht Dürer (1471–1528) painted on poplar when he was in Venice and on oak when in the Netherlands and southern Germany. Leonardo da Vinci (1452–1519) used oak for his paintings in France. Hans Holbein (1497/8–1543) used oak while working in southern Germany and England.
The move towards canvas
In the 16th century, canvas began to gain popularity in Venice. Italians were making the best quality canvas at that point, for sails. Mantegna led the change from wood to the cheaper and more portable option of canvas.
Canvas has been the substrate of choice for all serious works of art since then. However, wooden panels have seen something of a renaissance recently and are being recognised as one of the most durable and archival supports available to painters today.
The advantages of painting on wood
I love wood because of its smooth surface. It feels more like working on paper than canvas does. The smoothness and firmness means that it is easier to use many different media on wood compared to canvas. For me, this increases the level of detail I might be able to achieve. I also appreciate the greater freedom this accords me when correcting for those little 'accidents' happy or otherwise.
You can even use watercolour on wood.
Sourcing wood for painting
I do understand that since it is only wood, it is possible to paint on any piece of wood. That is just a little bit too much effort prior to getting into the fun of painting for my liking. If you are more patient and skilled at carpentry than I, you can find your own wood, or even hardwood and gesso it to create a lovely solid, smooth painting surface. Lori McNee demonstrates in this video, if you are interested.
But my preference is for ready-to-go cradled wood panels. I kept seeing artists using them in my online travels and they appear to be easily available in America and Europe. However, I live in Australia, and they have been hard to find out here. I have finally found some (obviously...) Cavalier Art ship Australia wide, as far as I understand, so if you are a fellow Aussie that might help you out.
I rather like that what was old is now new again. I am happily embracing wood panels and looking forward to experimenting a bit more with them. Hopefully, you will too!
If you want to start a new habit successfully, make it easy
 |
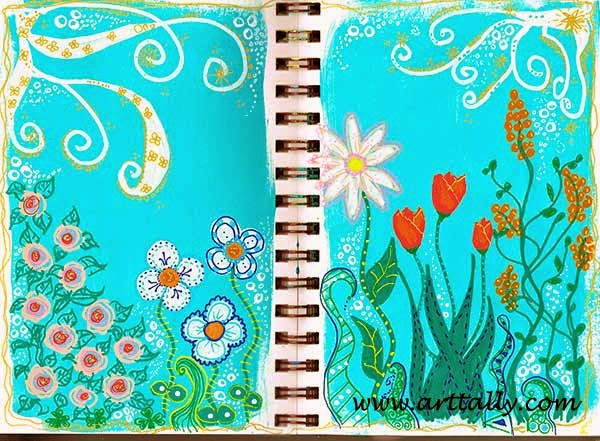
| Garden doodles created in Joanne Sharpe's Doodle Arts and Letters online class |
If there is a new habit to be started, then one thing I have learned is that it will never happen unless you make it as easy as possible. I don't think it is laziness, I think we are just busy. Once I bought one of those bits of fitness equipment from a TV infomercial (call it the folly of youth, or perhaps just plain hope). It said it would be easily collapsed and slid under the bed. Well, sort of. But in fact it was still way too hard to have to go scrabbling under the bed and erecting exercise equipment for that to have ever become a habit. Same with eating healthily. Unless the fridge and cupboards are stacked with readily available (no preparation required) healthy snacks, forget the sensible eating. The same seems to apply if you are wanting to draw and paint every day. My bustling family home doesn't accommodate a designated studio space. Nor would I want it to, to tell the truth, because I want to be with the rest of family rather than closeted away somewhere. And of course, were I to have such an art haven, there is a good chance I might never return from it...
 |
| My new art supplies trolley |
So my art, and most importantly all its supplies, must be well organised. The key though, is that they are readily accessible. I found the solution on Gina Lee Kim's blog (thanks, Gina!), in the form of an Ikea kitchen trolley. Best of all I went online and discovered its exact aisle location in the store. This meant I was able to go directly to the trolley without the marital assault and parenting skill test that is the full scale tour of Ikea. Hurrah! Now all my essential art supplies are on this robust trolley, able to be wheeled about. Importantly, none of my pencils, pens or markers are still in their original packaging. This, I learned from Lovely Jane. Art supplies should be out and proud, not hiding in their packaging. Mine are able to glint flirtatiously at me for most of the day, and this alone helps me to find or make the time to use them. Its easy. That's the way to do it.


